
Meaty needed in the picture.
Pattern: Silk Ribbed Corset, size S
Yarn: Knit Picks Andean Silk in Cornflower, 9 balls
Needles: Addi Turbo, circular size 6
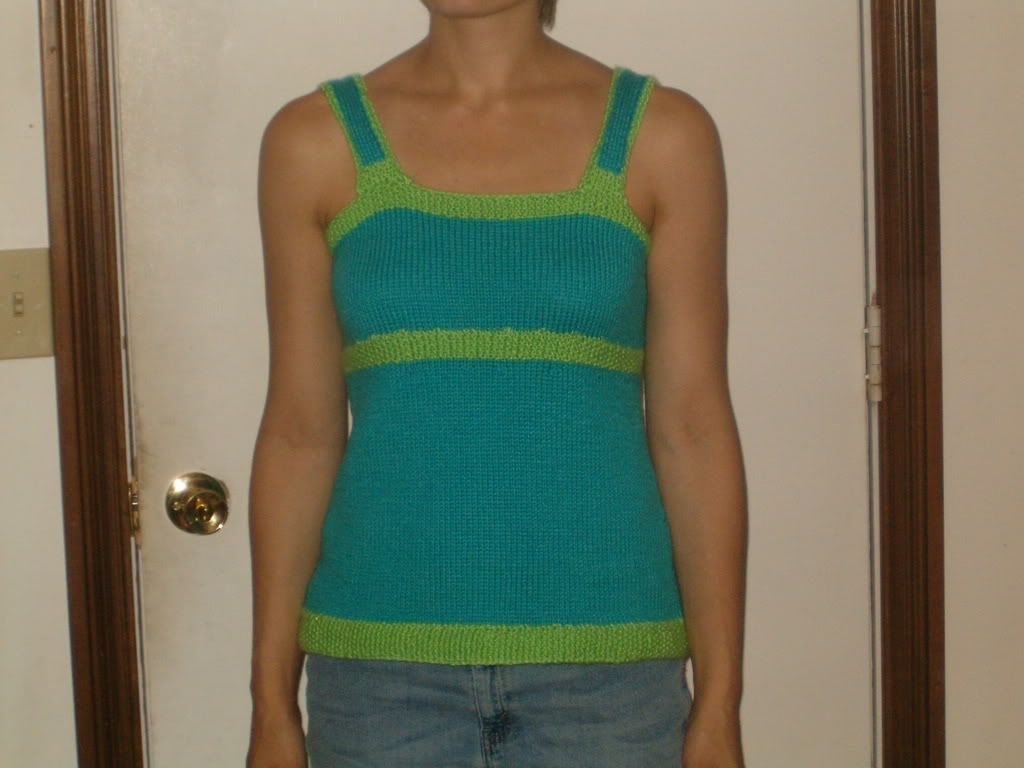
Modifications: I skipped the crochet edging. I seamed the front together instead of adding twenty million buttons, there was too much potential for gaping from all those buttons. I hope to someday find buttons I like and sew them where they should go, but in the meantime I have a perfectly wearable sweater. I added an extra repeat of chart D to lengthen the sweater. And I added sleeves. I'll give instructions for the sleeves at the end.
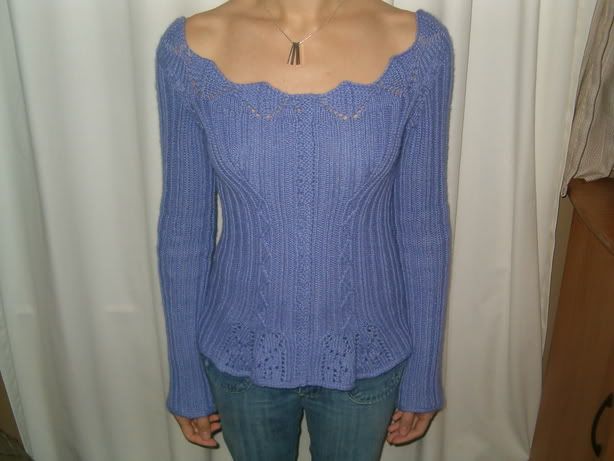
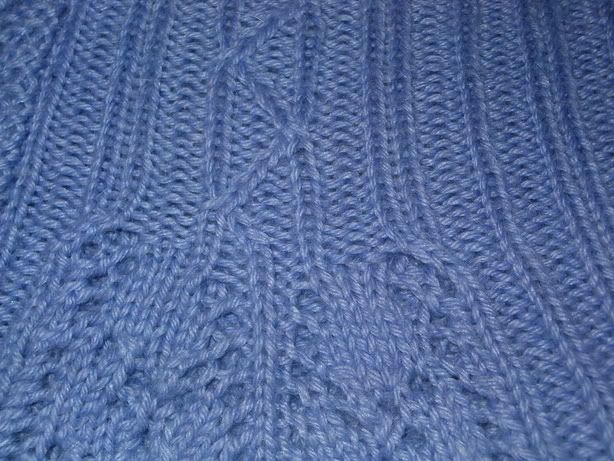
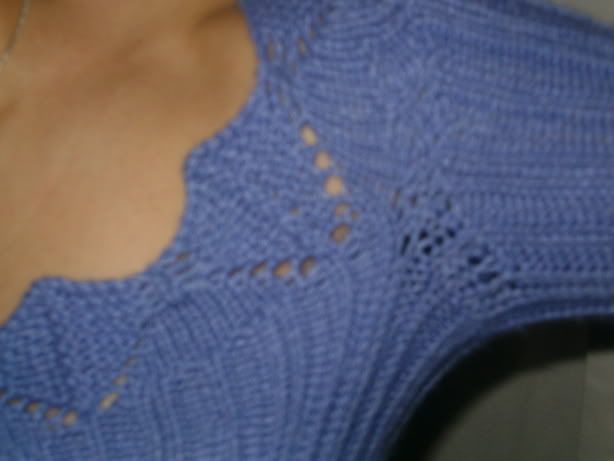
Review: I really love this sweater. The Andean Silk is entirely too heavy a yarn to make a tank top as this is meant to be, but it is perfect for a long sleeved sweater. I was surprised when I put the sweater on and discover it is a bit itchy. There was no hint of itch potential when I was knitting this sweater. Hopefully a soak in some conditioner will help. The Andean silk did knit like a dream. I think it displayed the front ribbed detail nicely, as well as holding the lace pattern on the edges.
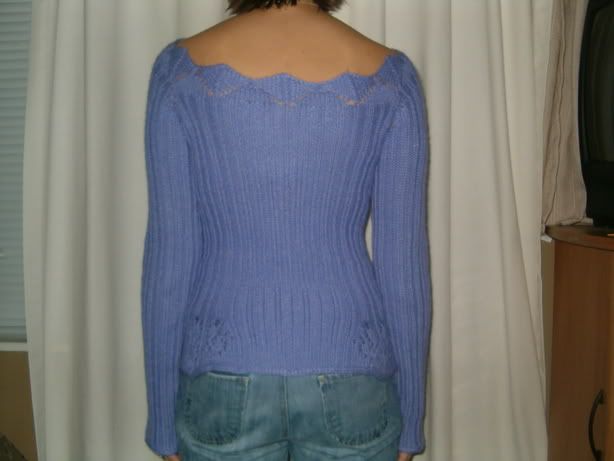
Overall I am very happy with this sweater, I actually wore it out in public today (unlike Mariposa which has never seen the outside of my closet). It even looks good from the back.
I will definitely be making a lighter sleeveless summer version at some point in my knitting career.
How I added Sleeves: I did this months ago, but this is what I remember. And I'm not a pattern writer, so bear with me. Instead of using the i-cord bind off I put those stitches on waste yarn. Then instead of using an i-cord cast for the bottom of the armscye I used a provisional cast on. Once I completed the body of the sweater I picked up those stitches. I also picked up three stitches between the upperhalf of the arm and the lower half. That part of the sweater had stretched from repeated trying on of the sweater and I thought it needed more stitches there so the arms would be comfortable.
So on the needles I had 26 stitches (from the upper arm), 3 stitches (that I picked up just because), 25 stitches (from the provisional cast on, you always end up with one less stitch) and 3 stitches (again picked up just because) for a total of 57 stitches. I wanted to use Chart B for the arm keeping in pattern the ribbed pattern already established on the upper half of the arm (I figured it didn't matter if it didn't match up on the under half of the arm). I attached my yarn in the middle of the under arm. I had to knit a few stitches together to get the right number of stitches to remain in the rib pattern.
Round One: I figured out where to begin the rib pattern to it would match up with the upper half of the yarn and I knit one entire round.
Row Two: Keeping in pattern, I knit half the stitches plus 5. I then wrapped the next stitch and turned the work.
Row Three: I knit ten stitches, then I wrapped the next stitch and turned the work.
Row Four: I knit ten stitches, picked up the wrap and knit it with that stitch, I then wrapped the next stitch.
Row Five: I knit eleven stitches, picked up the wrap and knit it with that stitch, I then wrapped the next stitch.
I continued to build the sleeve cap in that manner, knitting the wrapped stitch and wrapping the next stitch. If you have any questions feel free to let me know. I learned this theory of sleeve crafting from the Hopeful pattern.
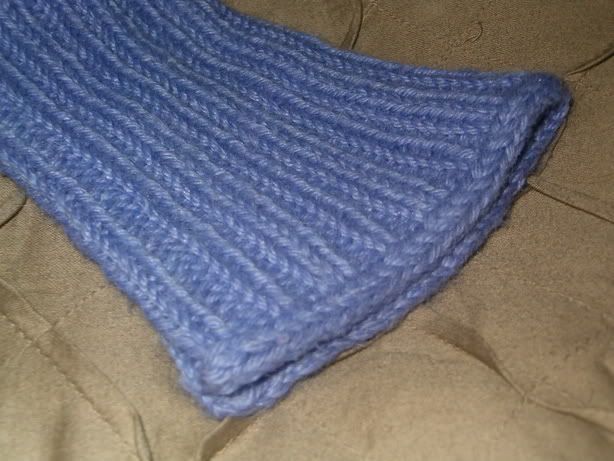
I wrapped and turn until there were ten un-knit stitches at the bottom of the armscye. I then in pattern knit the entire row and continued to knit in the round until the sleeve was the desired length. I then used the i-cord bind-off the finish the sleeve. The i-cord bind-off naturally pulls the ribbing apart and creates a bell sleeve at the end.
Now you too can go forth and add sleeves to sweaters and feel very clever in your results.

11 comments:
Wow. That looks utterly fabulous. Great knitting, beautiful color, and it looks awesome on! You made some great modifications.
Beautiful sweater. It looks great and the color is so pretty, I really like how you added sleeves, the corset is so elegant as a sweater.
Only two comments so far?? I would imagine everyone would have told you how gorgeous that is!! It fits like a dream. Can I have your body? Mine doesn't look that great. Oh well, you did a really fabulous job and the sleeves are definitely a must with wool. I'm going to have to knit another with sleeves now. How much yarn did you use in total? I'm going to be good and not order any, yet. :)
Wowza! That looks fabulous. And the sleeves look just like they belong there.
You know if you weren't so nice I'd have to lump you in that annoying group of moms who look like they've never been frigging pregnant!
It fits beautifully!
It's lovely! I hope the washing helps the itch factor.
Maybe I'll get mine out today and add buttons as that is all that is left to do...
Hi Mamma - you left a comment on the panta-along blog but I didn't notice an email address in your profile. I'm not sure mine is in my blogger profile either so if you want to leave me a comment on my blog - http://www.laurentiansales.com/rainberryblue/blog/ and fill in the email field (which will not be published with the comment), I'll send you an email and an invite to the panta blog.
:)
Peggy
It's gorgeous! I like the thought of seaming it together too. And the sleeves worked in perfectly...who says you're not a pattern writer?
Fantastic job!
So pretty! That color...gorgeous! And you look great :o)
Wow! That's one of the most beautiful sweaters I've ever seen knit. It looks wonderful on you.
You did a beautiful job on your corsest, it looks fantastic with the long sleeves. I have the pattern and the yarn but would buy new yarn to make a long sleeve version after seeing yours.
Greetings! I'm inspired by your long sleeves and I have questions about your instructions for them. After picking up the stitches, and extra stitches, around the armhole, where exactly do your rounds start? I'm trying to figure out where to do the wraps and turns for the sleeve caps. I'm assuming they start at one side, so that the sleeve cap is built up around the shoulder, butI just want to be sure. I've finished the body so I'm ready to start those sleeves! TCan you e-mail me at celticred63 at comcast dot net with any more tips? Thanks!
Post a Comment